
Okta SCIM applications
Set up SCIM provisioning in Okta to automatically sync users and groups.
Set up a SCIM 2.0 application in Okta with HTTP Header authentication so Okta automatically pushes user and group changes to your SCIM endpoint.
Prerequisites
-
Install or have access to an Okta admin account with permissions to create and configure applications
-
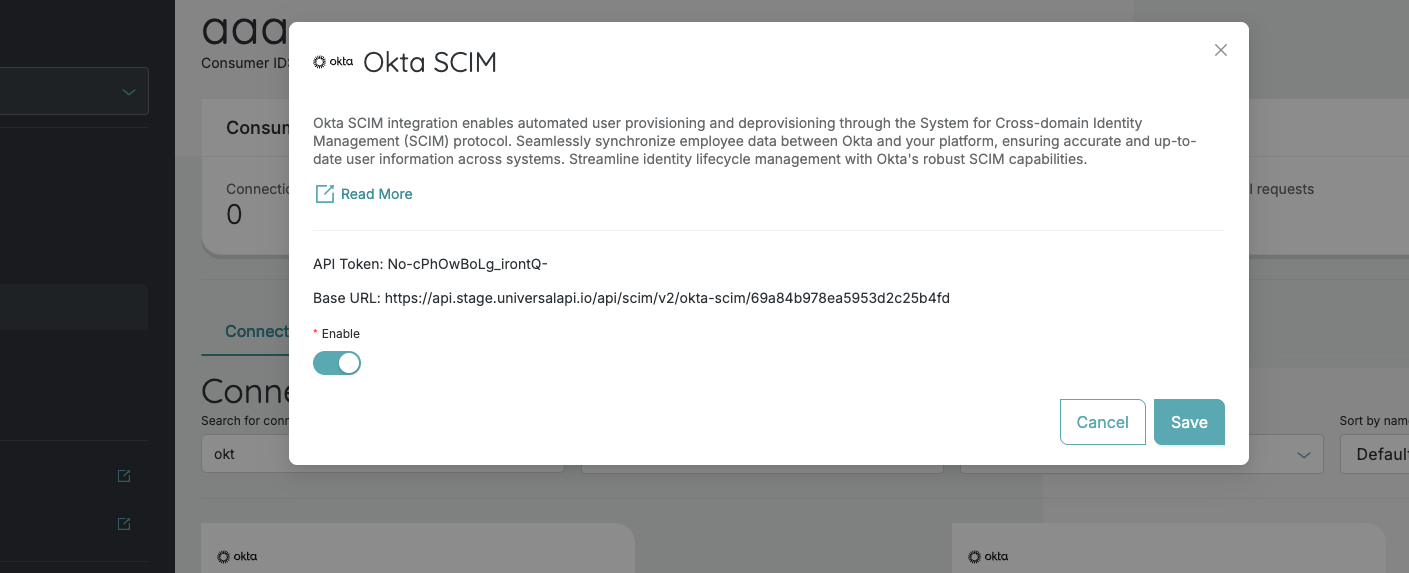
Obtain your Base URL from your connection's metadata in uapi - the SCIM 2.0 endpoint that receives provisioning requests
-
Obtain your API Token from your connection's metadata in uapi - the token used to authenticate SCIM requests
Step 1: Create a SCIM application
- Log in to the Okta Admin Console.
- In the left sidebar, go to Applications > Applications.
- Click Browse App Catalog.
- Search for SCIM 2.0 Test App (Header Auth) and select it.
- Click Add Integration.
- On the General Settings tab, give the application a descriptive name and click Next.
- On the Sign-On Options tab, select the sign-on method appropriate for your setup, then click Done.
Step 2: Configure API integration
- In your newly created application, go to the Provisioning tab.
- Click Configure API Integration.
- Check the Enable API Integration checkbox.
- Fill in the following fields:
- SCIM 2.0 Base URL - paste your SCIM Base URL
- OAuth Bearer Token - paste your API Token
- Click Test API Credentials to verify the connection.
- Once the test succeeds, click Save.
The API Token is sent as the
Authorizationheader value with every SCIM request Okta makes to your endpoint.
Step 3: Enable provisioning features
After saving the API integration:
- On the Provisioning tab, go to To App settings.
- Click Edit and enable the desired features:
- Create Users - automatically create users when assigned in Okta
- Update User Attributes - push profile changes from Okta
- Deactivate Users - deactivate users when unassigned or deactivated in Okta
- Click Save.
Step 4: Configure group push (Optional)
To sync Okta groups to your SCIM endpoint:
- Go to the Push Groups tab in your application.
- Click Push Groups and select either:
- Find groups by name - search for specific groups to push
- Find groups by rule - create rules to automatically push groups matching certain criteria
- Select the groups you want to sync and click Save.
Step 5: Assign users and groups
- Go to the Assignments tab in your application.
- Click Assign and choose Assign to People or Assign to Groups.
- Select the users or groups you want to provision.
- Click Assign for each selection, then click Done.
Okta will begin provisioning the assigned users and groups via SCIM.
Troubleshooting
Test API Credentials fails
- Verify that the SCIM 2.0 Base URL is correct and includes the full path.
- Confirm the API Token is copied correctly with no extra spaces.
- Ensure your SCIM endpoint is reachable from the internet.
Users are not being provisioned
- Check that Create Users is enabled under Provisioning > To App.
- Verify that users are assigned to the application under the Assignments tab.
- Check the Okta System Log (Reports > System Log) for provisioning errors.
Groups are not syncing
- Confirm that groups are configured under the Push Groups tab.
- Verify that group push is active and not paused.
Updated 5 months ago